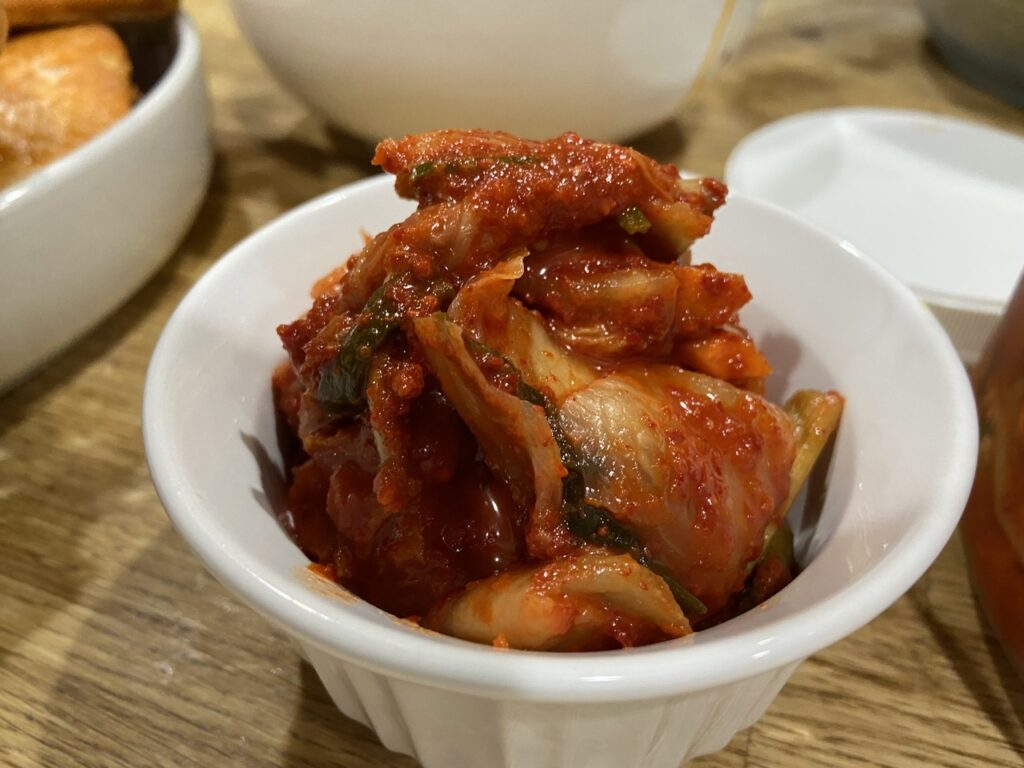
Growing up on Guam, I got to try loads of food, but Korean cuisine is easily in my top 3 faves. The tasty flavors make me think I might have Korean roots in another life. 🍜✨ So, I set up a whole bed just for growing Napa cabbage and daikon radish to master my Kimchi-making skills. Growing veggies for Kimchi is now a regular thing in my winter and spring garden.
I also purchased a Korean cookbook: Mangchi’s Big Book of Korean Cooking, by a YouTuber I love, Maangchi. The delicious recipes I found in this cookbook have sparked my interest in cooking and my excitement to try new things. Among the recipes, I am particularly drawn to the vegetarian version of kimchi. Our household has to skip the shrimp in traditional kimchi because of allergies, so we go for the vegetarian version instead. It doesn’t have the fermented shrimp paste or fish sauce, but it’s still so delicious.
Take a dive into making your own kimchi with me! Explore the world of crafting this classic Korean favorite, known for its health perks and rich flavors.
The harvest was fruitful this season. I harvested about 16 pounds. So I quintupled (5x) the recipe.
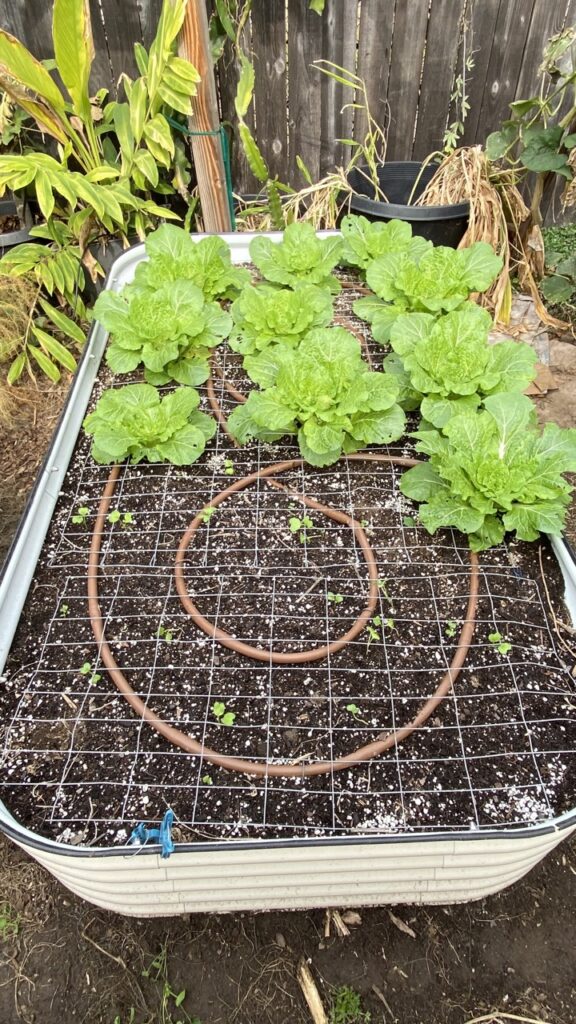
Planting Napa Cabbage
- Fall/Early Spring: Best times for planting to take advantage of cool weather crops!
- It’s about 70-90 days to get ready for harvest!
- Firmness Test: Squeeze heads to determine if they are ready; they should be firm to the touch.
Post-harvest Preparation
The fresher, the tastier! Harvest and prep right away for the best kimchi flavor! You can also pop it in the fridge to stay fresh for up to a week.
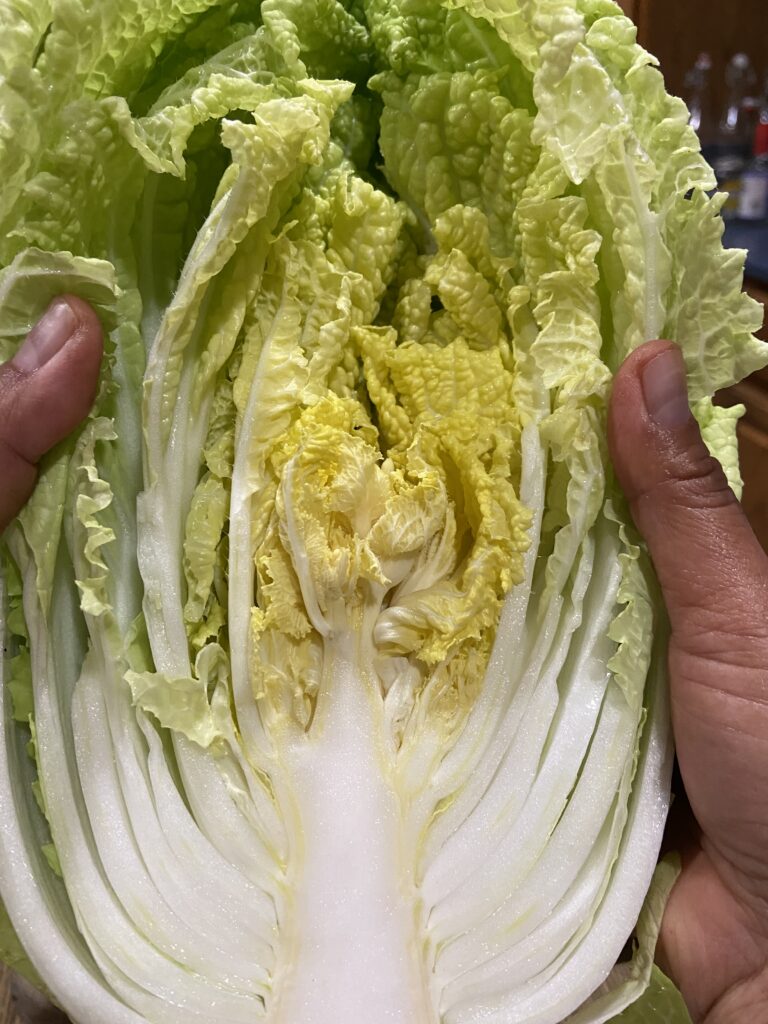
Ingredients for Vegetarian Kimchi
(adapted from this cookbook: Maangchi’s Big Book of Korean Cooking)
For convenience, check out Amazon link for most of the ingredients.
- 3 pounds Napa Cabbage
- 9 Tbsp Salt
- 2 Tbsp sweet rice flour
- 1 1/3 cup vegetable broth
- 1 Tbsp + 1 tsp sugar
- 9 garlic cloves
- 1 tsp ginger, peeled
- 1 medium onion, roughly chopped
- 1 cup Gochugaru (Korean hot pepper flakes)
- 6 oz Daikon Radish
- 3 oz Garlic chives, chopped into 1″ pieces
- 6 oz Green Onions, chopped into 1″ pieces
- 1/4 cup Carrots, matchstick
Detailed Steps for Kimchi Preparation
Cutting and Salting the Cabbage
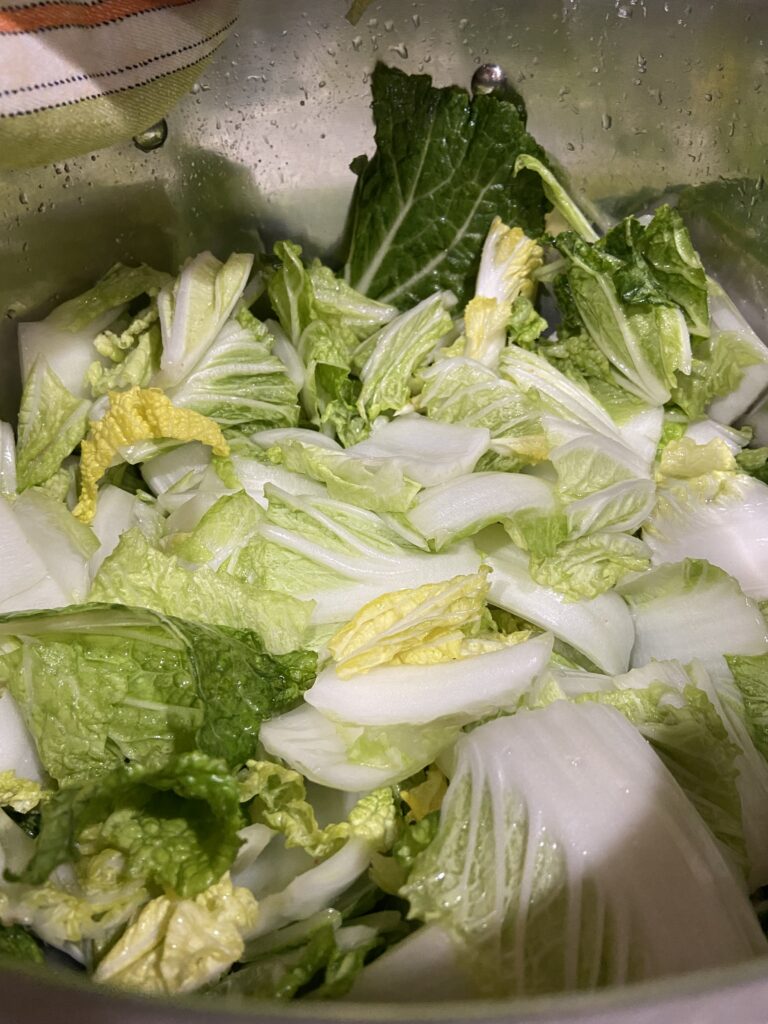
- Chop the cabbage into 1-inch pieces and sprinkle with salt.
- Allow to sit for 2 hours, turning periodically to ensure even salt distribution.
Making Kimchi Paste
- Combine vegetable stock and rice flour over medium heat.
- Stir until thickened (about 3 minutes). Set aside to cool.
- Blend the cooled porridge with garlic, ginger, onion, additional vegetable stock, salt, and sugar until smooth.
- Stir in gochugaru (hot pepper flakes) to the mixture.
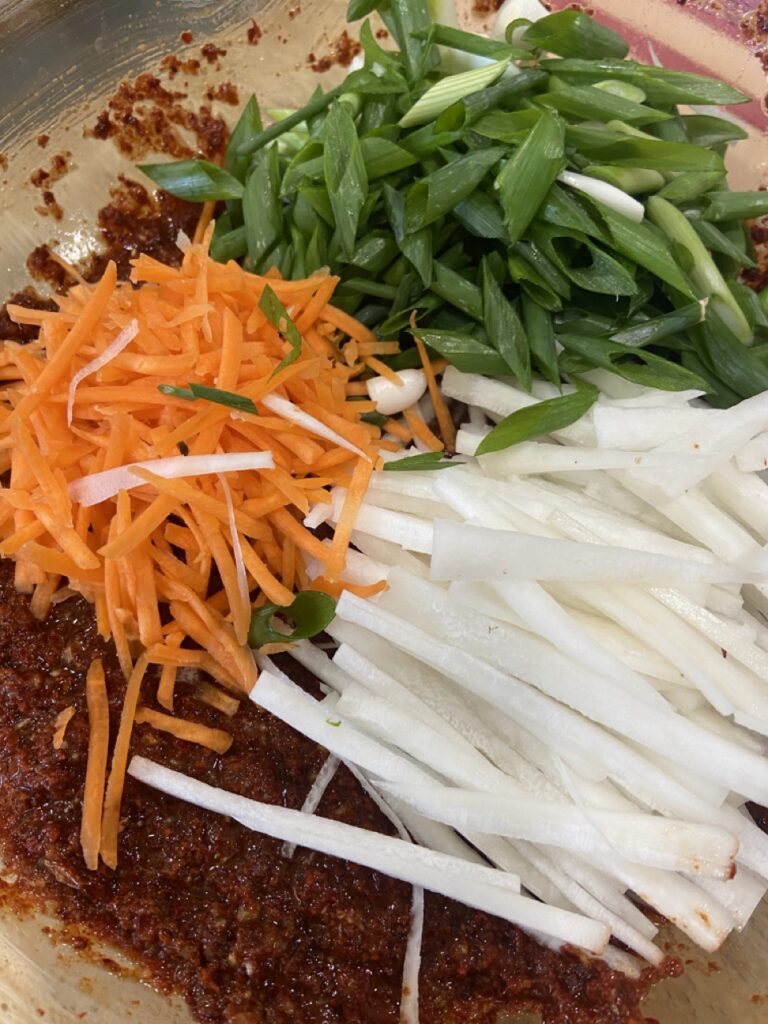
Mixing Paste with Vegetables
- Rinse the salted cabbage 3-4 times to remove excess salt. Squeeze dry.
- Toss together the vegetables and mix in the kimchi paste thoroughly by hand.
Fermentation Process
- Transfer the mixture into airtight containers (preferably glass), removing any air bubbles.
- Allow to ferment for 1-2 days at room temperature for initial culturing.
- Continue fermenting in the refrigerator for about 2 weeks, tasting periodically.
- Once the kimchi has reached the desired sourness, store in the refrigerator. It will continue to ferment slowly in the fridge. Eat and enjoy for several months.
Health Benefits of Kimchi
- Acts as an excellent probiotic for maintaining healthy digestion.
- Helps reduce symptoms of various gastrointestinal disorders such as IBS.
- Contains bacteria linked to improved immune function and reduced inflammation.
- Excellent source of vitamins A, C, K, folate, beta-carotene, choline, potassium, and calcium.
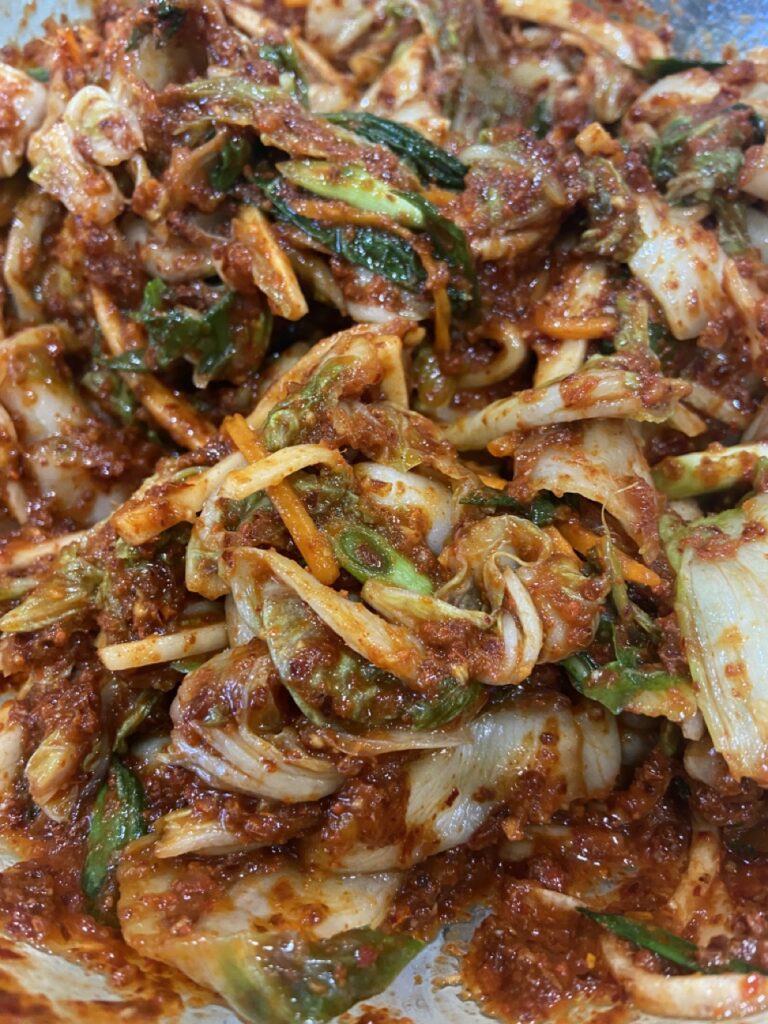
From growing your own napa cabbage to enjoying the yummy flavors from your kimchi jar, this guide’s got you covered to make an awesome, homemade culinary masterpiece. Dive into every step, from the garden to gut, and enjoy the tasty flavor and health perks homemade kimchi brings to your table.


